Before you begin
A little preparation makes the rest of your setup easier. Identify your robot, prepare a clear workspace, and choose between the desktop app and the developer workflow.
1. Identify your setup
Keep the hardware revision, software version, and the operating system of your computer with your setup notes. If you cannot identify the robot revision, ask the team before following revision-specific assembly or calibration instructions.
- Are you setting up an assembled robot or building a kit?
- Will you use Vulcan Studio or the Python / LeRobot workflow?
- For developer teleoperation, do you have both leader arms and access to the robot computer?
The product specifications provide hardware context. Confirm that the listed configuration matches your unit before using it as a service reference.
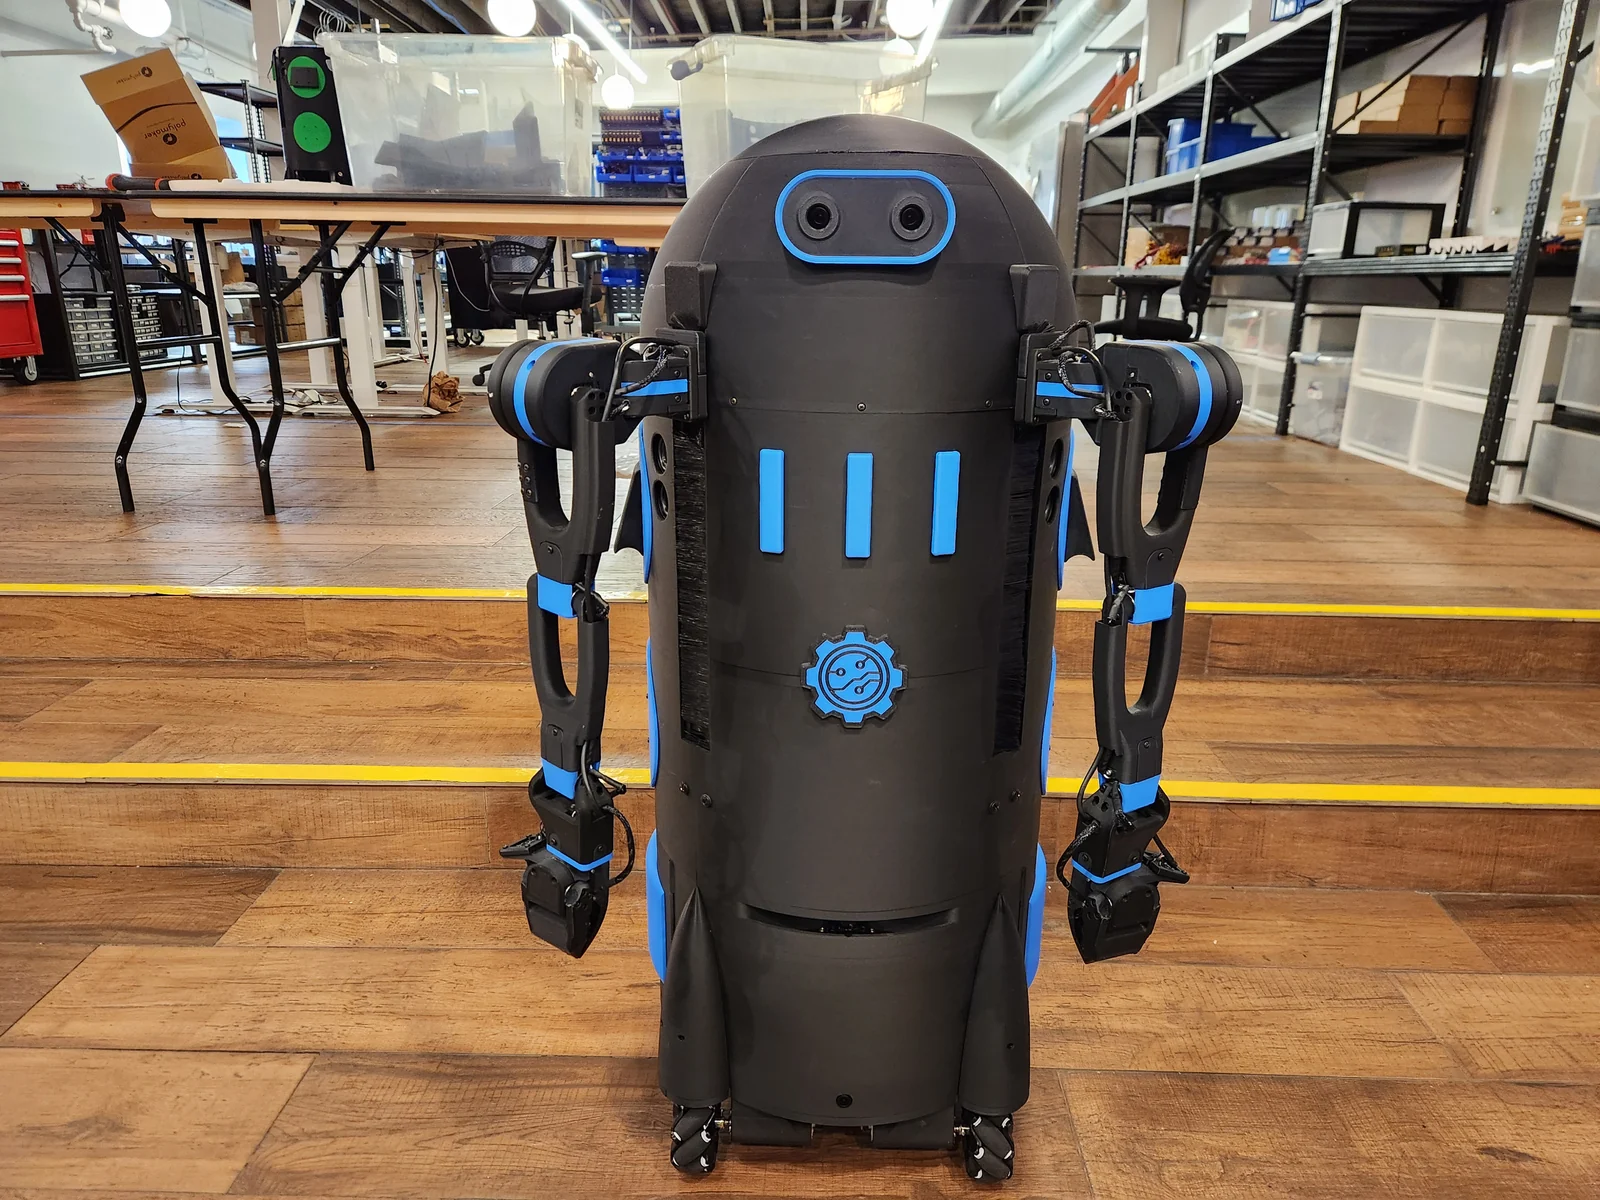
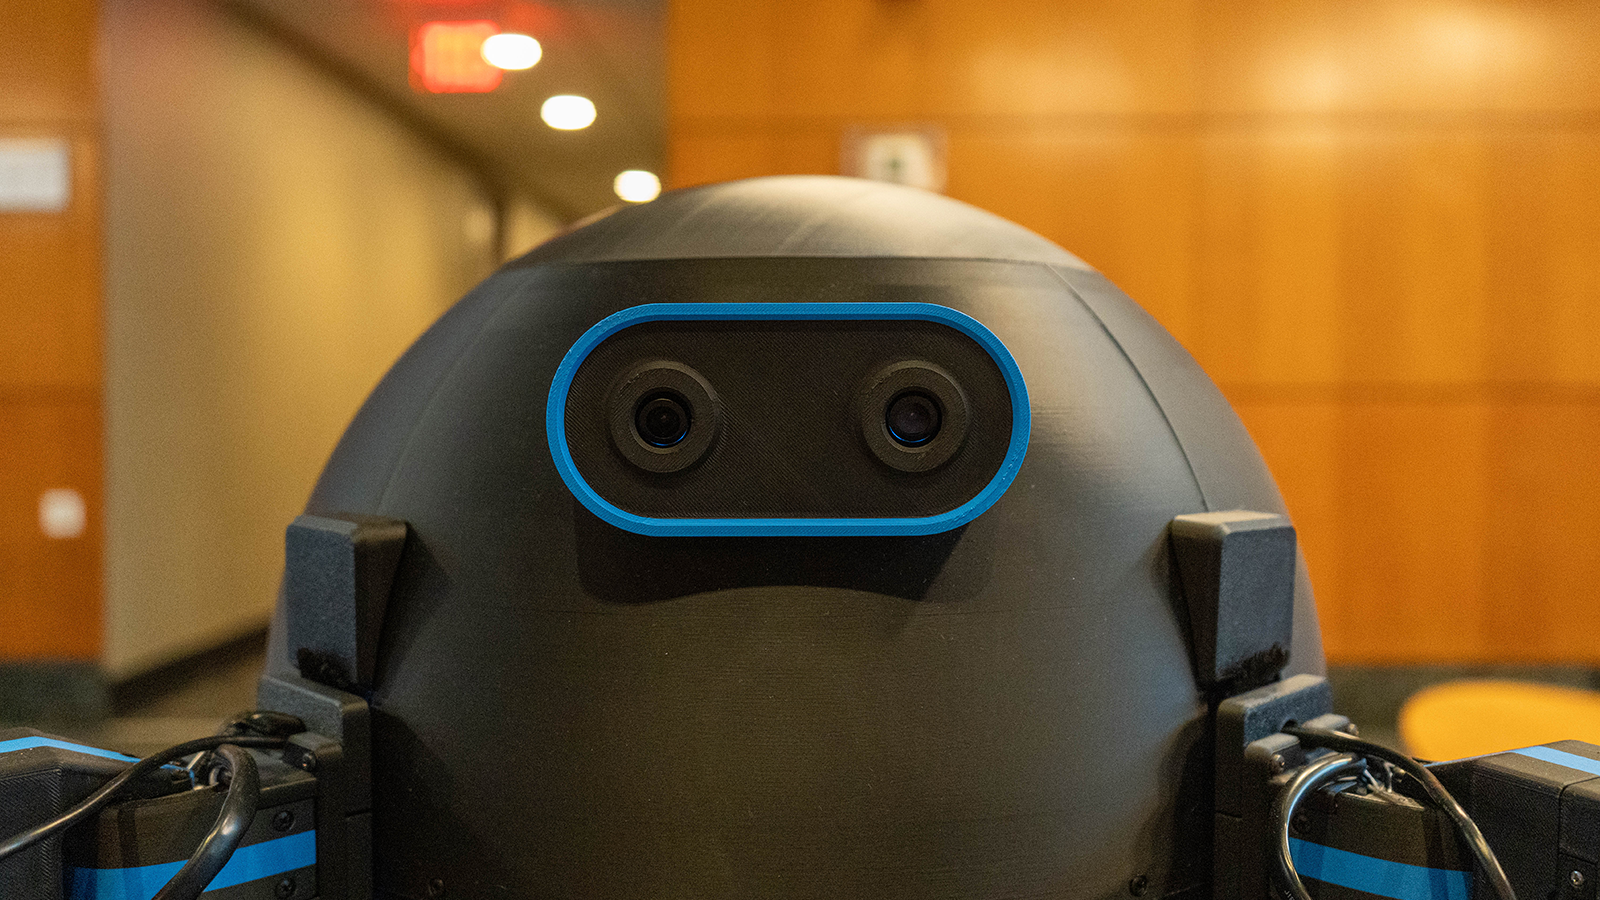
2. Prepare the workspace
- Keep the robot and any loose parts stable while inspecting the setup.
- Clear people, pets, cables, and fragile objects from the area where the robot could move.
- Check for visible damage, loose connectors, or pinched cables before powering hardware.
- Use the power and charging instructions supplied for your specific unit. If those instructions are missing, contact support before connecting power.
Confirm the stopping procedure and available controls for your hardware revision with the team. A terminal command or software control must not be assumed to provide a physical emergency stop. Keep all first movements supervised.
3. Choose your control path
| Path | Prepare | Start here |
|---|---|---|
| Vulcan Studio | A computer matching one of the listed installer platforms. | Download & install |
| Python / LeRobot | Robot computer, controller computer, leader arms, Git, Python, and uv. The setup guide lists the current requirements. | Developer quickstart |
The developer workflow uses two computers: the robot computer runs the hardware host; the controller computer runs teleoperation and dataset commands. Training can run on another computer with access to the dataset.
4. Prepare the network
The existing developer guide expects both computers on the same trusted local network. Have the robot address and your own onboarding credentials ready. Do not share passwords or private keys in screenshots, public issues, or agent prompts.
For SSH access, follow the robot-computer setup instructions, verify the host-key fingerprint, and keep SSH on the trusted local network. Do not expose port 22 directly to the internet.
5. Check readiness for first movement
Before following a motion command, confirm all of the following with someone familiar with the actual robot:
- The hardware revision and calibration instructions match your unit.
- The workspace is clear and an operator can supervise throughout the test.
- The operator understands the verified stop procedure and can reach the required controls.
- The intended movement and control mapping are understood.
This checklist is preparation, not a complete unboxing, power-on, or first-movement procedure. Revision-specific photographs, power instructions, stopping behavior, and a physical walkthrough still need validation. If you are uncertain, ask the team before proceeding.
When your setup is confirmed, continue with the developer quickstart or Studio installation guide. Building a kit? The assembly overview identifies the stages; detailed build instructions are still needed.
Get help with your unit
Share your hardware revision, software version, operating system, the page you followed, and any error text. Remove credentials and private information first. Contact support for unit-specific setup questions, or check developer troubleshooting.